7 Days To Die: Mastering Infested Clear Missions in 7 Days
Quick Links
In 7 Days To Die, players have access to a variety of mission types, each offering unique challenges and rewards. While some missions—like buried treasure—are relatively simple, others push your survival skills to the limit. Among the most difficult are infested clear missions, which become available as you progress through trader tiers.
These missions involve entering zombie-infested buildings and eliminating all hostile entities inside. Though tough, they offer excellent XP gains and valuable loot. This guide will walk you through everything you need to know about infested clear missions in 7 Days To Die.
How To Start An Infested Clear Mission
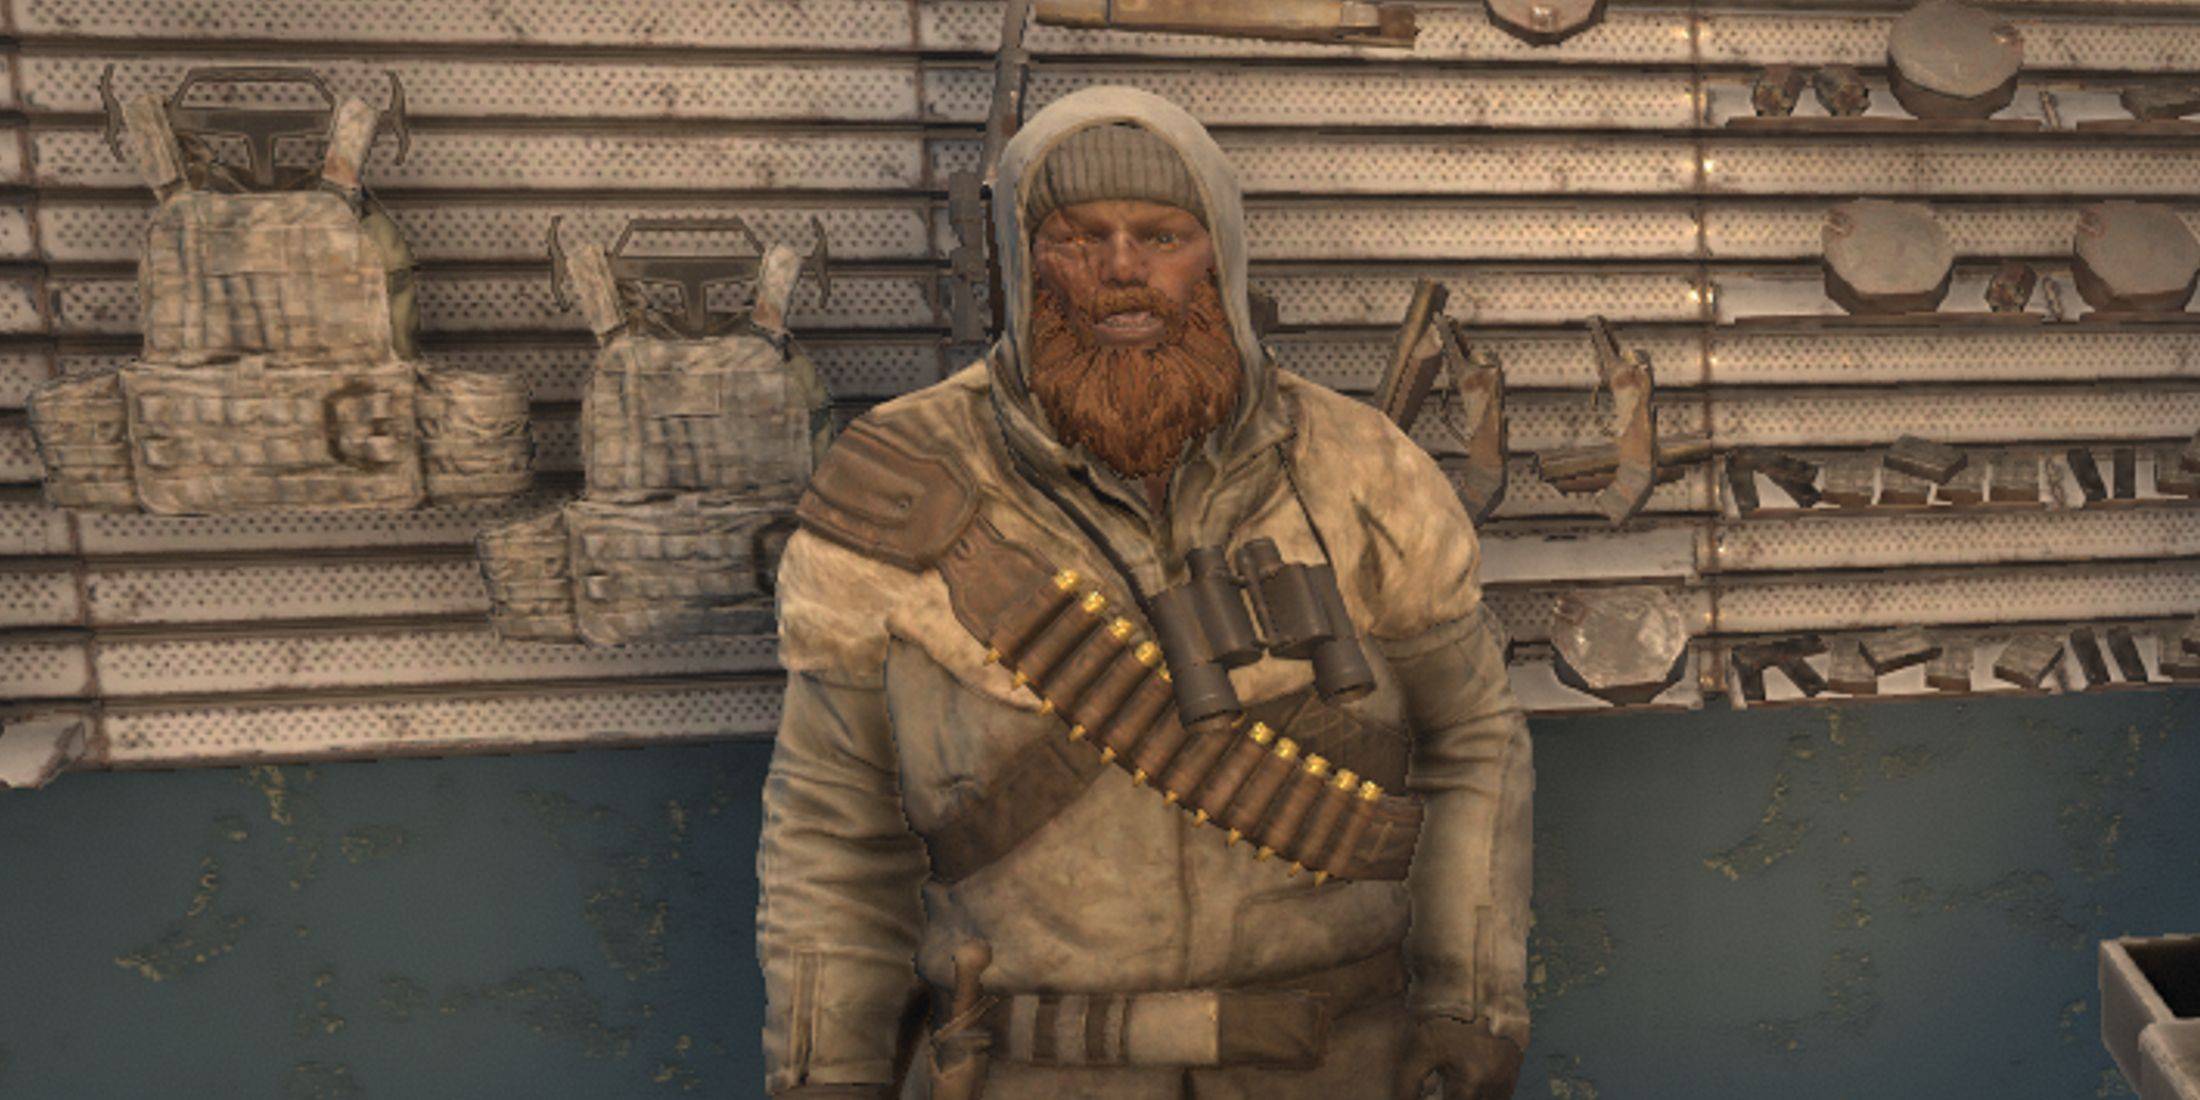
To begin any mission, visit one of the traders scattered across the map. The five main traders are Rekt, Jen, Bob, Hugh, and Joe. While the specific trader doesn’t matter, the mission tier and biome do. Higher-tier missions are more challenging, and certain biomes like the Wasteland tend to spawn tougher enemies such as ferals.
Infested clear missions unlock after completing 10 Tier 1 missions. Compared to standard clear missions, these are significantly harder due to increased enemy numbers and stronger zombie types, including radiated zombies, cops, and ferals. Tier 6 infested missions are the most brutal but also the most rewarding.
Regardless of the tier, the objective remains the same: eliminate all enemies within the designated area.
Completing An Infested Clear Mission
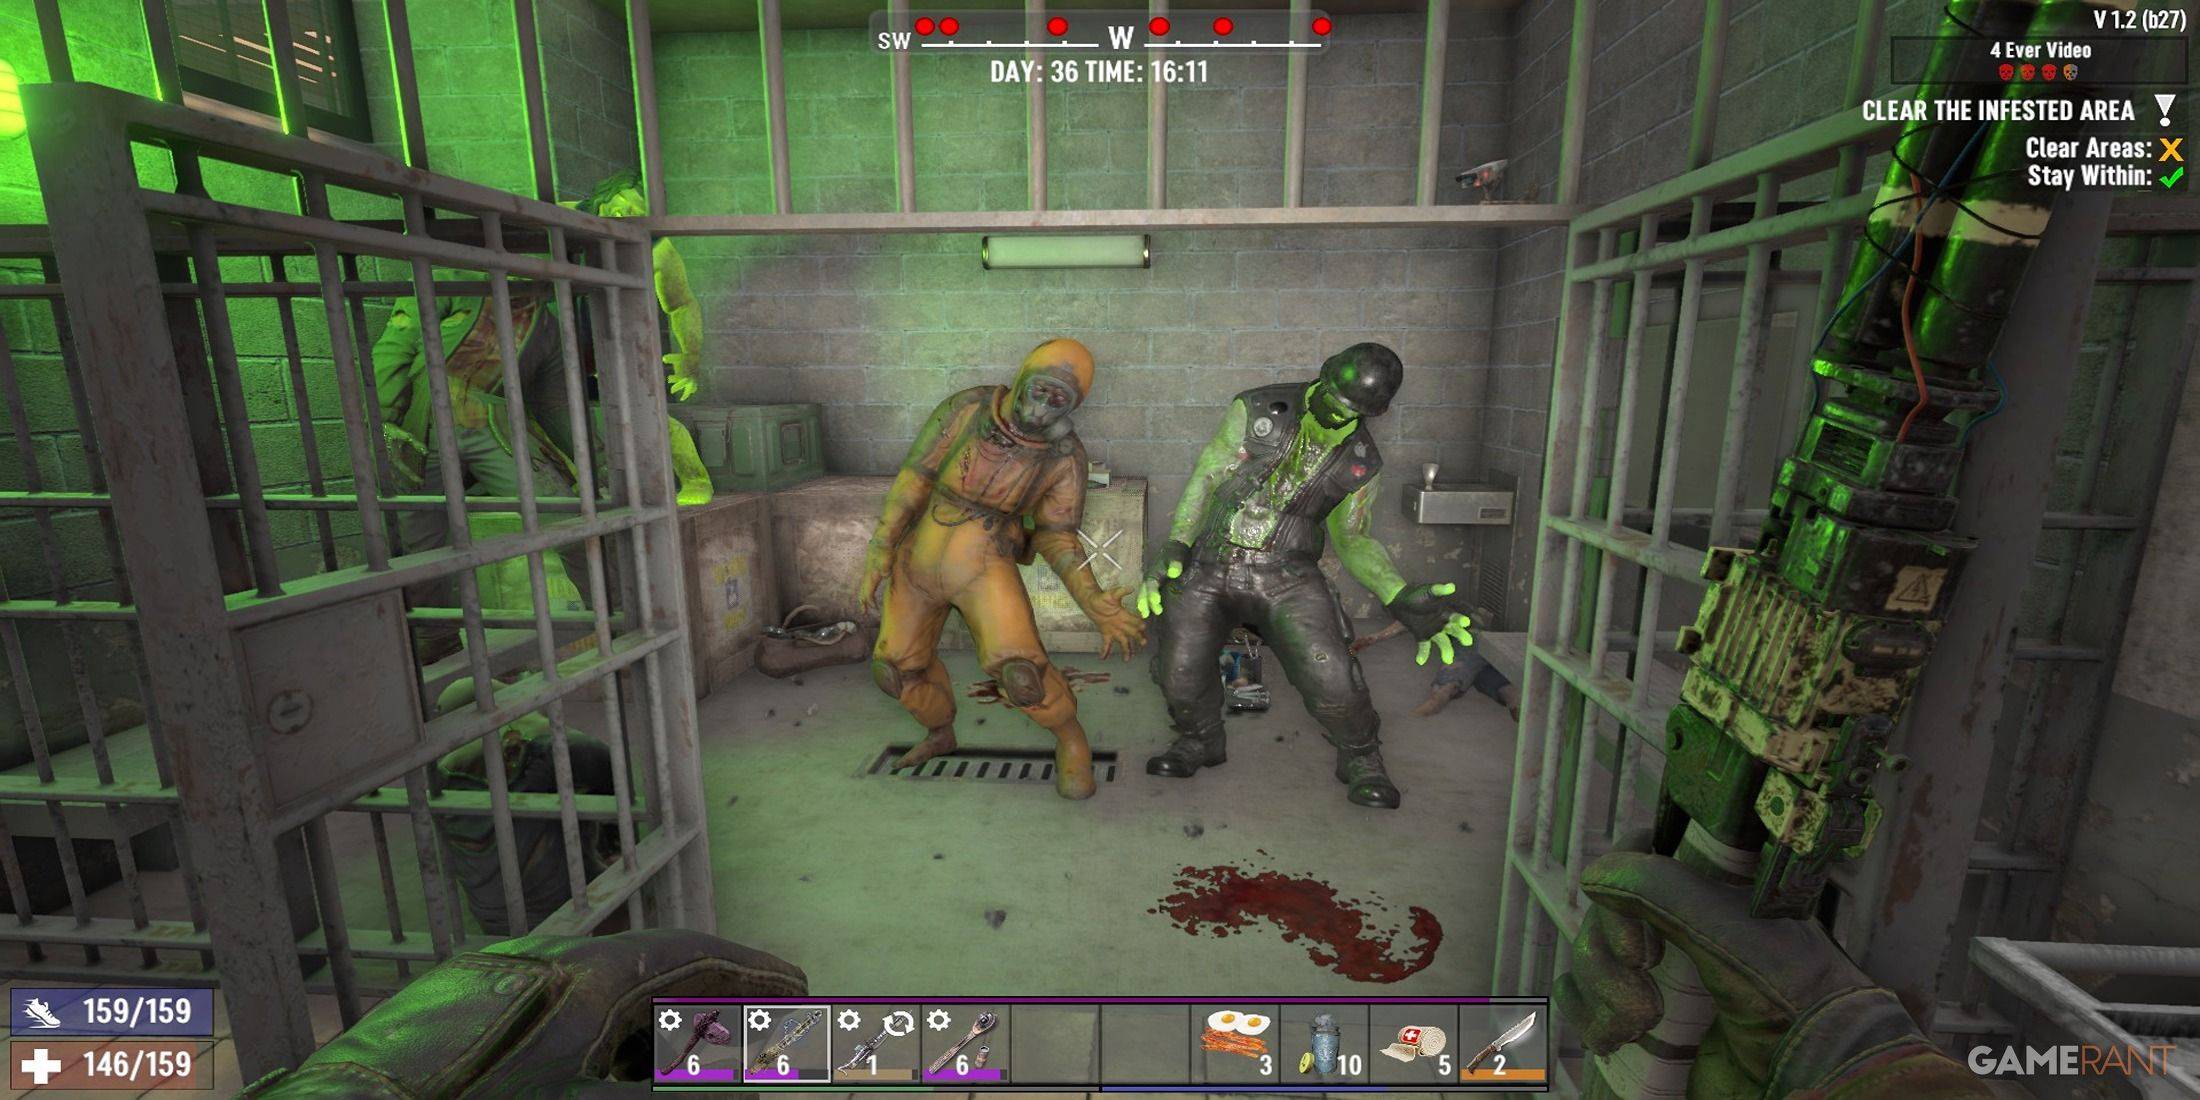
Upon reaching the POI (point of interest), activate the mission by interacting with the marker at the entrance. Once activated, leaving the area or dying will result in mission failure. Be cautious—many POIs contain trigger points that activate traps or spawn hordes when entered.
The game often guides you through lit paths using torches or lanterns. Avoid following the obvious route to bypass dangerous triggers. Instead, use alternative entry points or climb buildings with building blocks to gain the high ground and surprise enemies.
While navigating, keep an eye on your minimap. Activated zombies appear as red dots—the larger the dot, the closer the threat. Always aim for the head to take down zombies efficiently, and be prepared to handle special enemy types:
| Zombie Type | Abilities | How To Handle Them |
|---|---|---|
| Cops | Spit toxic vomit and explode | Take cover when they rear back and maintain distance to avoid blast radius |
| Spiders | Jump long distances | Listen for screeching sounds and shoot quickly once they land |
| Screamers | Summon nearby zombies | Prioritize elimination to prevent being overwhelmed |
| Demolition Zombies | Carry explosives on chest | Avoid shooting the explosive pack—back away if it starts beeping |
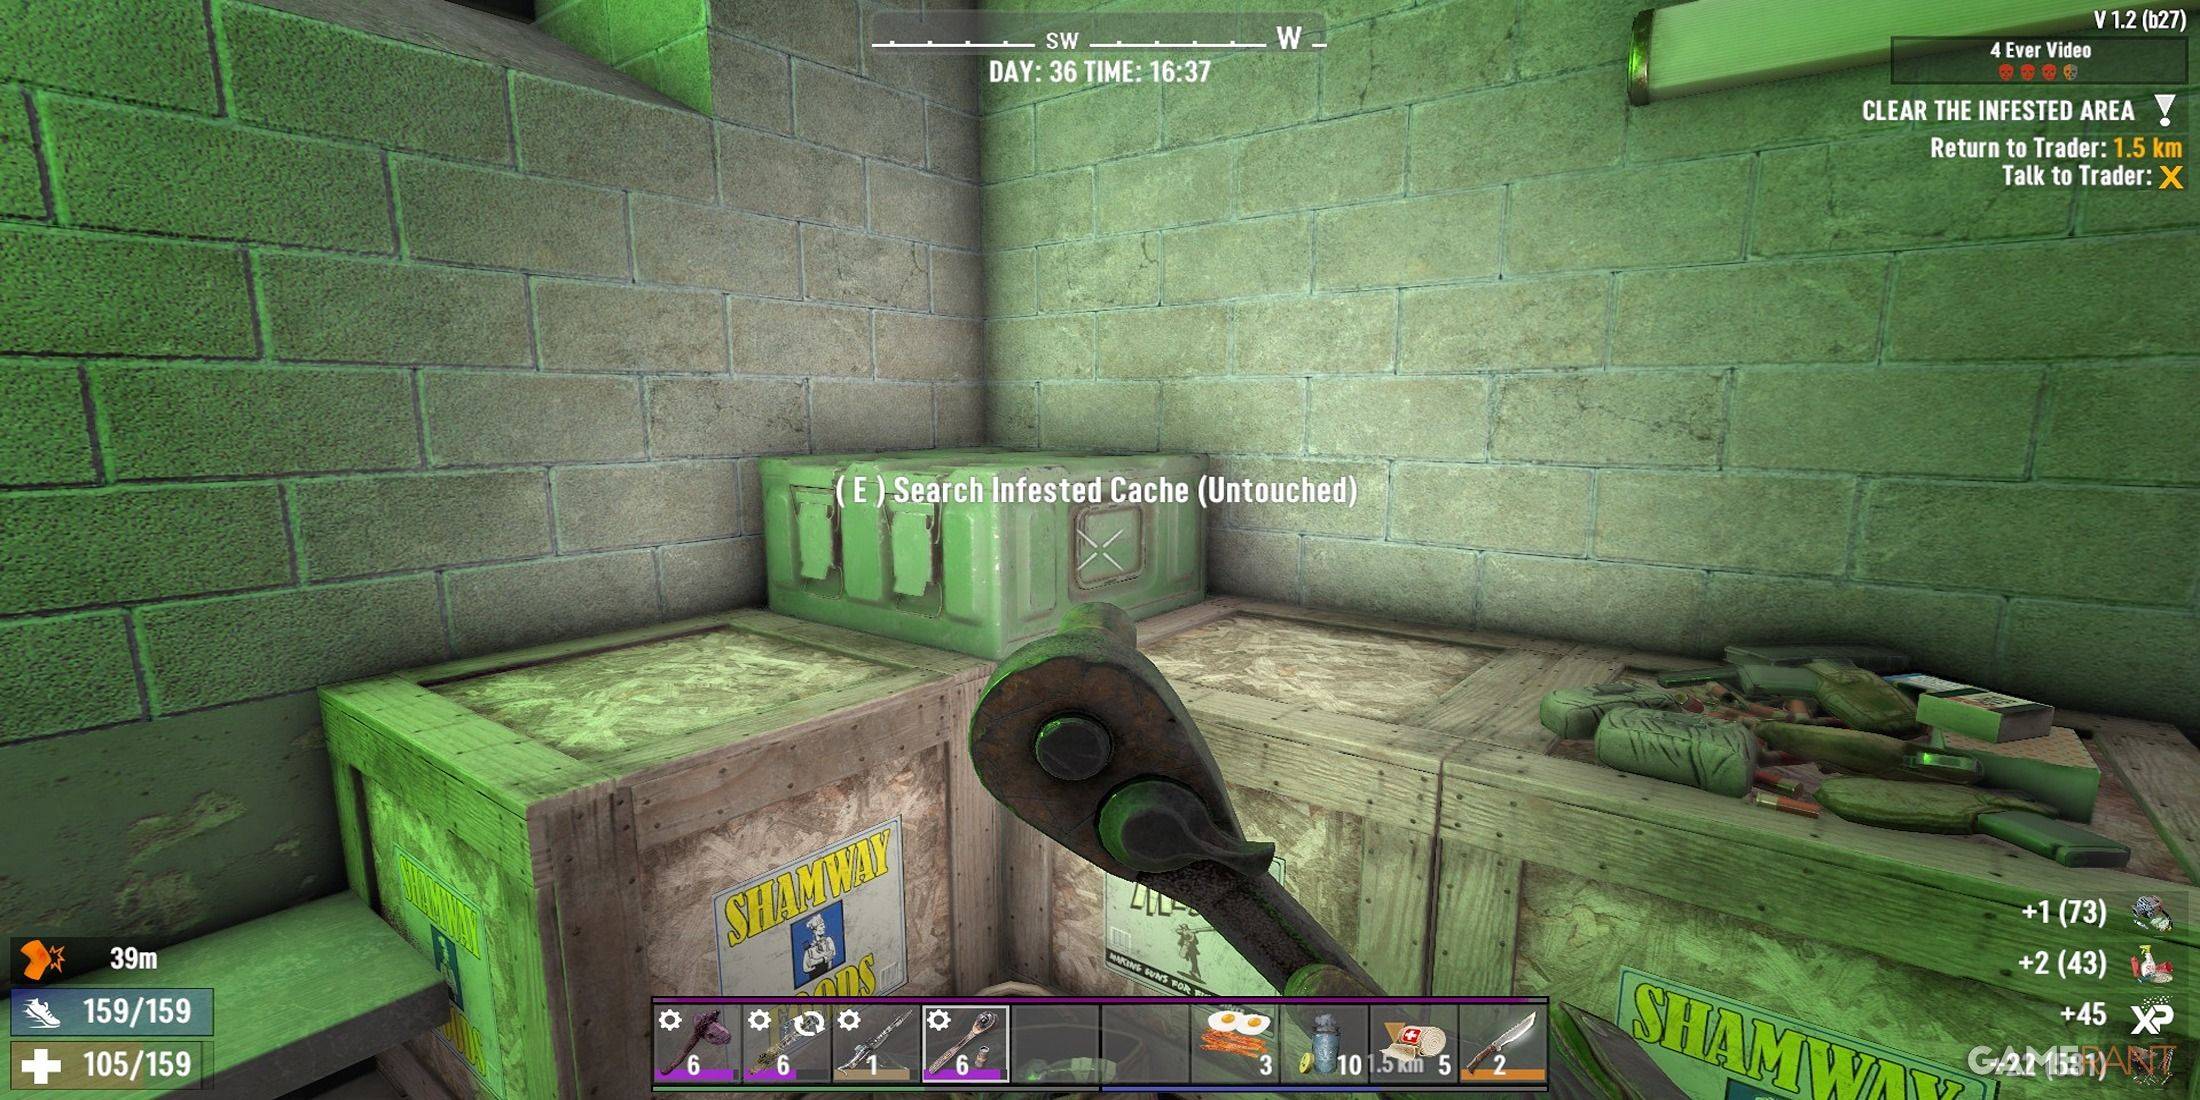
When entering the final room, expect a large number of zombies guarding valuable loot. Make sure you're fully healed, weapons are loaded, and escape routes are clear. Unlike regular clear missions, infested clear missions include an Infested Cache filled with extra ammo, magazines, and high-quality items.
Once all enemies are eliminated, return to the trader to claim your reward.
Infested Clear Mission Rewards
Rewards are randomized upon completion, but their quality depends on several factors:
- Game Stage
- Loot Stage
- Mission Tier
- Skill Point Investment
Your Game Stage increases naturally over time, while Loot Stage can be boosted via the Lucky Looter skill or the Treasure Hunter mod. Higher-tier missions yield better rewards, making them well worth the effort.
For optimal results, invest points into the A Daring Adventurer perk. At Rank 4, this perk allows you to choose two rewards instead of one—greatly increasing your chances of obtaining rare items like solar cells, crucibles, or legendary parts.
After collecting your rewards, consider selling unwanted loot to the trader. Each Duke earned from sales gives 1XP, and selling in bulk can net thousands of XP effortlessly.


- 1 Pokemon GO Fest 2025: Dates, Locations, and Event Details Jan 08,2025
- 2 How to Get All Ability Outfits in Infinity Nikki Feb 28,2025
- 3 Pokémon TCG Pocket: Wonder Pick Date, Time, and Promo Cards – February 2025 Mar 03,2025
- 4 Black Myth: Wukong Tops Steam Charts Days Before its Launch Jan 07,2025
- 5 inZOI, a Korean Sims-Like, Delayed to March 2025 Mar 01,2025
- 6 Ukrainian Internet Stalled as 'S.T.A.L.K.E.R. 2' Release Overwhelms Dec 30,2024
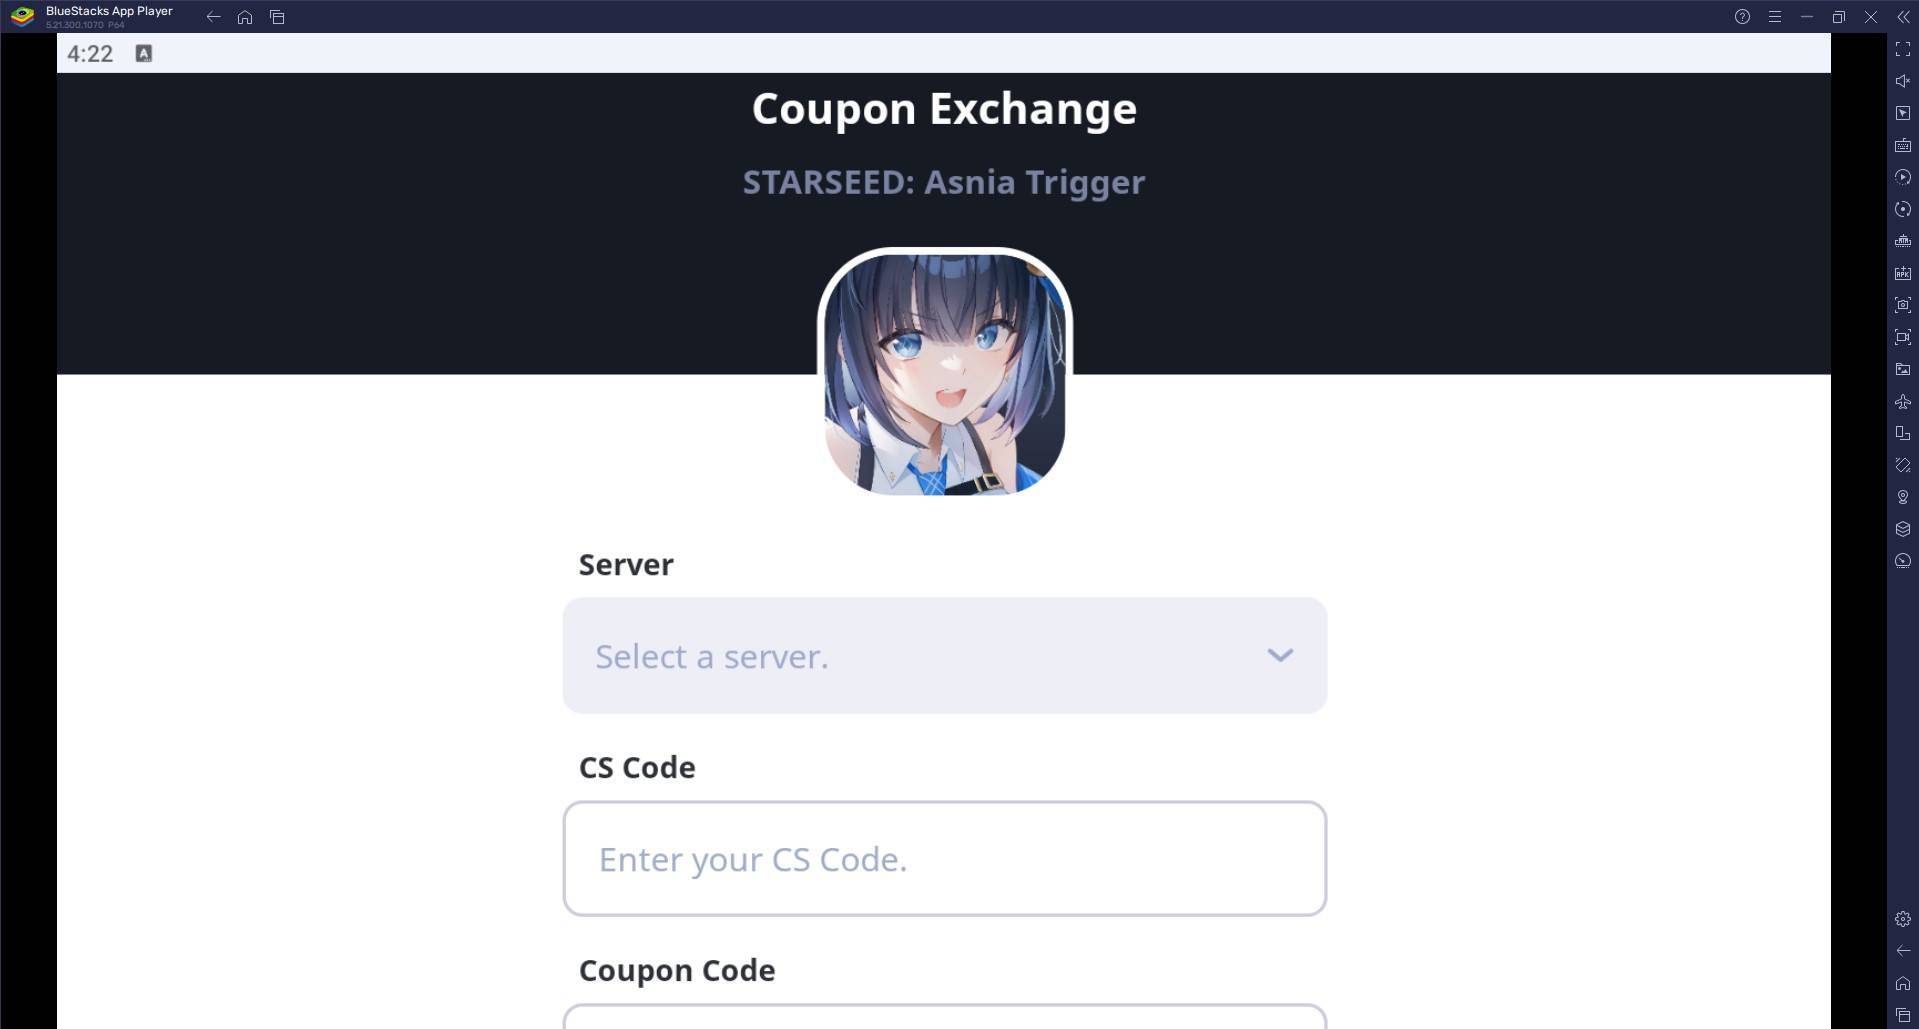
- 7 Starseed Asnia Trigger Codes (January 2025) Mar 06,2025
- 8 Assassin's Creed Shadows Postponed to March 2025 for Enhancements Feb 21,2025


-
Budgeting & Investing: Your Guide to Financial Apps
A total of 9
-
Addictive Hypercasual Games for Quick Play
A total of 10
-
Best Role Playing Games for Android
A total of 10